Showing posts with label 2010 Layout Challenge. Show all posts

Monday, July 26, 2010

2 More Layouts and "Movin On Down" Pics

It's been a busy couple of weeks but I have had a few quiet moments to get some scrappin in.

Challenge # 6 ==> Reflections Half & Half - Top Focus and Treasure Pocket - pg. 84 & 118


I'm still using up the Key To My Heart paper pack and getting down to the nitty gritty. I didn't make the pocket on the layout as I liked the way it turned out. Everything is CTMH except the black felt flower band. The black is so dramatic with these colors. I love using the black card stock as the base of these layouts.


Challenge #7 ==> Imagine Understudy pg. 110

This one is less embellished. I seem to sway back and forth on straight design to blingier. Is that a word? Well it is now because it should be! On this one I just added a striped ribbon and a small lace border. Again, I'm not sure what I plan on using the pages for but may bling it out later.


And now the source for my busy-ness. Below are my moving pictures. I am moving from the upper to the lower level of the house. My new room is being set up so that I can hold classes with 4 people. As my business grows I will have to expand but this serves the purpose for now.

My daughter - the organizer - was on hand and made me do a "Hoarder" episode. Yes, my name is Christine and I AM a hoarder!! So we got to work and I went through each and every package box and bag and tossed! Here are pics of the original room 3/4th empty.

This is the new space starting to take shape.
As you enter the room you see my work desk centered to accomodate 4 people. This massive desk was moved down by my SIL and 2 of his strong buddies! Oh my gosh what a procedure! No walls or toes were damaged in this maneuver!! 
The south wall is full of cupboards. This was a secondary kitchen. DH and I removed the gas stove and fridge to clear the space. This is where my cutting stations will be. I have my Cuttlebug and Cricut set up in this area. The cupboard hold all the folders, nesties and cartridges. The grey cabinet was a donation from my lovely neighbor when she did her clean sweep earlier this year. It will be perfect for holding all my misc. embellishments.

This bookcase is my new stamp holder. It fits my hundreds of stamps and in the next few days will have my extra inks hung up above it in an old cassette holder I bought at Value Village for a dollar. Yes, I am a treasure hunter and love to find new uses for old items.

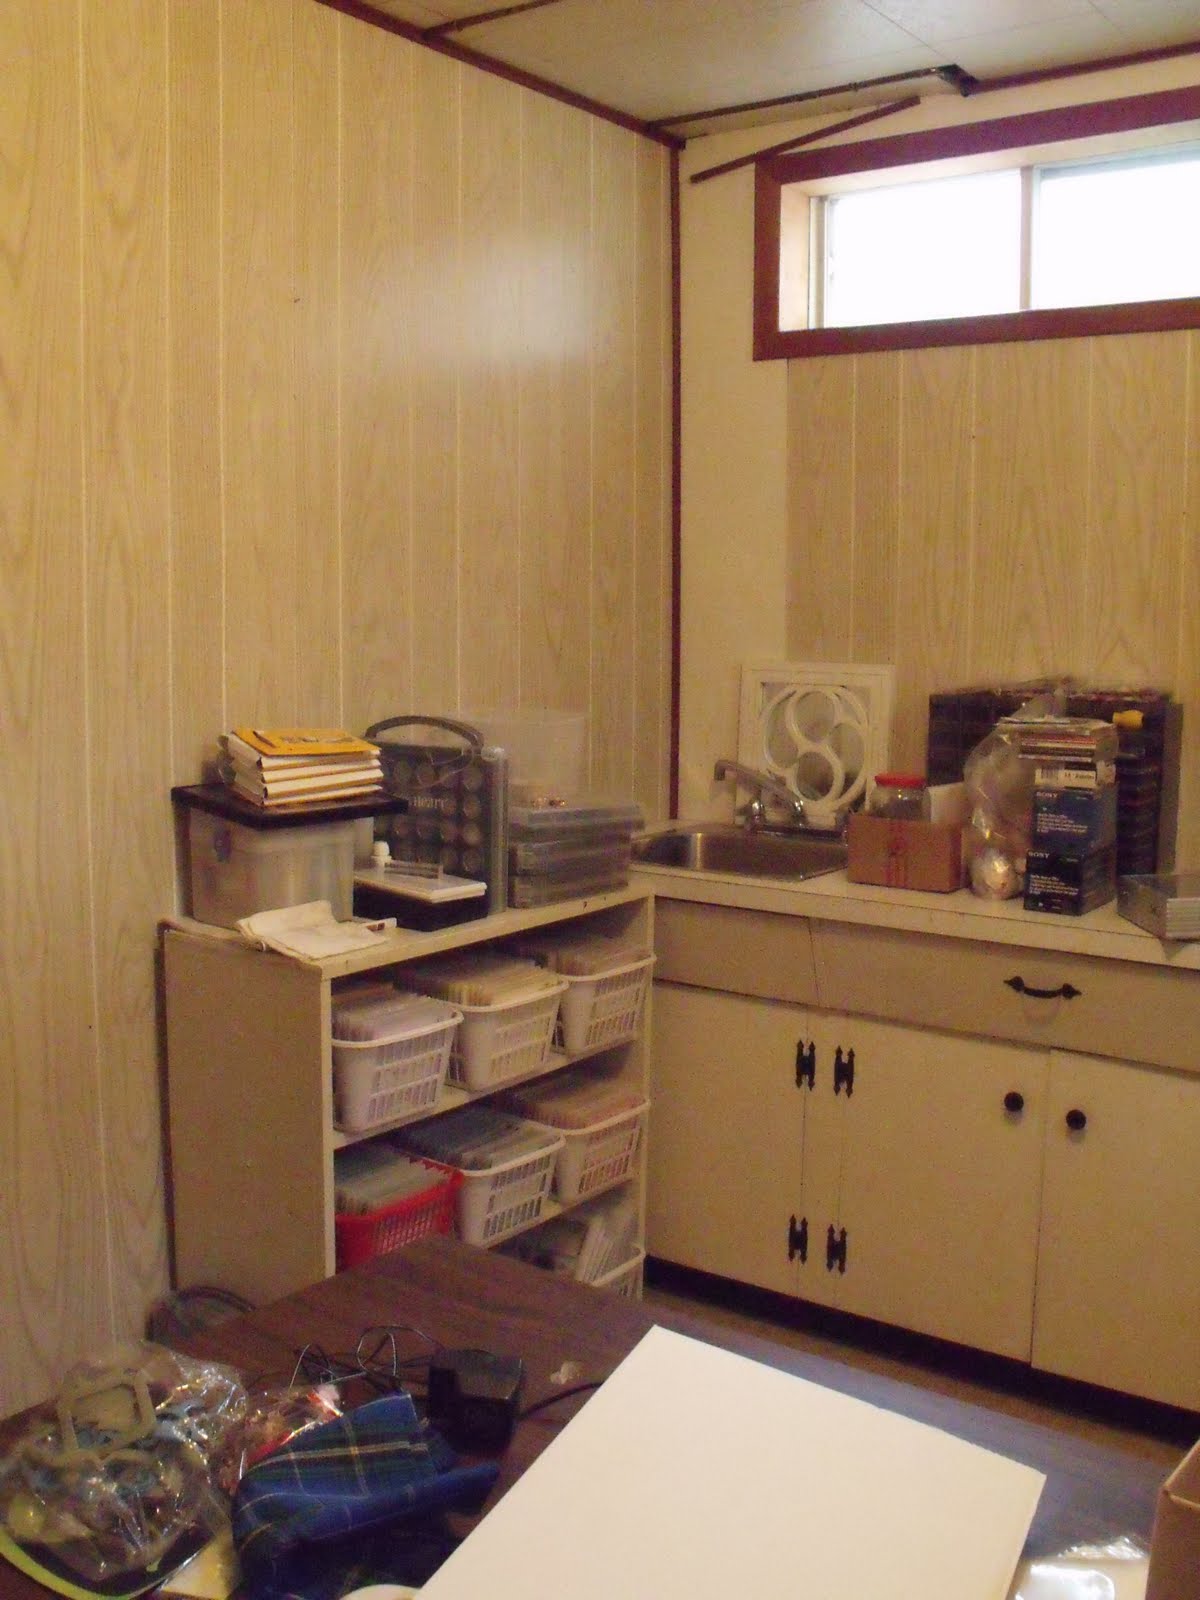
I have already designated the one huge drawer as a punch holder. I can lay out all my punches and with a quick glace I can grab exactly what I want.

These last 2 pics show tower components from a closet organtizer DH bought on sale at Canadian Tire for DS's bedroom. DS decided he'd rather hang all his clothes instead of having to fold everything for the shelves. PERFECT! I can use these in my space. The one behind my desk will hold all my catties, How-To books, and my business supplies. The other one by the door will hold miscellaneous crafting tools such as my extensive stash of adhesives. A girl can never be too rich, too sexy, or have too much adhesive!

That's the end of my scrap space tour for now. I will post final pics when it is completely organized and ready to start crafting in.
Where did the Hoarder throw out take place? In the rec room!! Take a look at this!! This is after a full day of touch and toss.

On the floor are 5 containers of stuff that will not join me in my new space. My big basket will come back in but empty - to be refilled with goodies for my class and workshop participants. The rubbermaid container will find a new use elsewhere.

And for those of you close to where I live - this coming Friday and Saturday (July 30-31) I am having a yard sale where all these much loved items will be looking for a new home. If you are local call me at 780-307-9379 for directions and come give some love to these beautiful papers, stickers, tools, etc.

Thursday, July 8, 2010

Key To My Heart Layout Challenge

I've decided to do some catchup work on my layouts. I'm starting at the beginning of Helen Onulyks Scrapbook Challenge and since it is up to 66 now I'm waaaaaaay behind! I love these because they use our program books which are fantastic starting points for your pages.

I used an old Constant Campaign kit called Key To My Heart. I love love love this paper. Here are my layouts for challenges 1, 2, and 3.

Challenge 1 ==> Cherish Abstract Pg 66-67


I used machine stitching on the 2 small cross pieces and a couple of elements from Heartfelt Whimsy.

Challenge 2 ==> Imagine Memoirs Complete Pg 66-67


Again I played with  my sewing machine and used some decorative stitching on either side of the cross pieces at the bottom of the layout. The ribbon, paper clips, and brads are from the Connections Club mini Black assortment pack.

Challenge 3 ==> Cherish Now and Then Pg 100-101


I used 4 Pewter photo holders and a combination of 2 types of sassy strands to outline the frame on the LHS page.

Stay tuned for more layouts and my second tutorial! The tutorial is on how to build a basic hinged box. This can then be used for a variety of projects such as a paper suitcase or purse-type tote.

Friday, June 11, 2010

My GAME is ON......Finally

My creative block has crumbled. I ordered a couple of L1 kits on the first day of Jackpot June. I am one of those people that has never used a level 1 kit! I know!!!! Shame on me!!

I absolutely L-O-V-E the level 1 kit. It was easy as pie to do the page. Put the picture in the pre-printed spot and embellish. Done! I added Love Letter Rub-ons, Colonial White buttons, Filigree Charms, Black Waxy Flax, Just Blooms, Black brads, silver flowers from the accent tubes we used to get, and a smattering of left over Connections Club sticky pearls.


Isn't it amazing how versatile our CTMH kits are. This kit is called Game On and is meant for using with sports themes. I love how changing up the embellishments turns this into a romantic page. I hesitated a few minutes about using the Stickease letters. The bold letters certainly relay my feelings about this photo and I was glad I broke through the barrier of thinking these are college letters to be used only for football pages.

Friday, April 23, 2010

Miracle Kit Layout 2

Here is the other layout as featured in the kit. This time I did use their choice of color for the butterfly and button accents - Smoky Plum. The bridesmaids dresses were purple so this was a nice compliment.

Wednesday, April 21, 2010

Miracle!! Kit Layout and Actually Posting!

OK! Here it finally is. I got the new Miracle kit and had to play with it.
The layout was soooo fast and easy to do. If only my printer had cooperated I could have shared this with a long time ago!

What I Love About This Kit:
Gorgeous papers! Again we have beautiful diecut paper to play with. And the colors! The pictures just don't do this kit justice. I so hope we get a new paperpack from this!

New Irresistibles Die-cuts - chipboard with built in pattern!! All you have to do is add color to them. Chalk them, marker them, sponge them, paint them - whatever your heart desires! They coordinate wonderfully with any pictures you want to use.

I colored mine using the suggested Olive for the leaves. I used Tulip for the flowers, buttons, and butterflies to match-up with Robin's shirt. I followed the rest of the directions and Viola!! done and beautiful.

I also have the second layout completed however my printer is again trying to take a vacation so I have no pics in it. Tomorrow I will either make it work or it will be on vacation in garbage city permanently! Do you hear me little printer?? Yeah! That's right! Garbage city for you! Hehe - I told it didn't I?

Wednesday, January 27, 2010

Tri-Shutter Card

So here is my first attempt at a larger version of the tri-shutter card. And after working on this project I'm going to count it towards my layout challenge! There was about the same amount of cutting, placing and embellishing done as with my layouts.

Here is the card fully closed. I used the Veranda L2 paper pack and MyStickease. Although the wired ribbon is gorgeous, the yellow really glares and I am tempted to tear the front apart to switch out the Sorbet CS with a yellow toned one. Honey may get the tones coordinated better. My original thought was to get the flower color blending to the base but it makes the ribbon look out of place in my opinion. The ribbon is important to me as it came from my daughter who saved it from one of her wedding gifts. Sigh - back to the drawing board.


The gingham ribbon is from the Chocolate Designer ribbon roll; craft buttons from the Basic collection; blue felt circle is from Heartfelt Wonder diecuts collection. I love the texture and dimention the felt adds to any project. I used some waxy flax for the ties on the buttons.


I used a couple of different stamp sets to finish this monster card. The flourishes are from the Felicity Collection kit and the sentiment is from the Veranda WOTG kit. Both sets are available only when purchasing the kits BUT have so many other applications. The center image is from CTMH Enjoy Every Moment stamp set. I stamped it in brown Staz-On then used watercolor pencils and a waterbrush. I LOVE this technique. There are no worries about getting the blend right.


I didn't add sentiment boxes to the two side flaps as I loved the paper the way it ended up being cut. If I was sending this as a card I'd use a coordinating color sticky note to write to my greeting on. I think it makes a wonderful display piece as is and would want my recipient to be able to have it out without my goofy handwriting to spoil the paper.

Wednesday, January 20, 2010

Time Flies


I asked a question about Picassa on the boards and the discussion turned to things old and new. The answer to my question was about using the save icon which is a picture of a 3.5 floppy. I decided to challenge myself to do a layout featuring objects that were old and new.


So many things have been invented since I was a kid. I wonder what the next 45 years will bring?

Monday, January 18, 2010

Heritage Church - Grande Pre, NS

This layout uses CTMH Veranda and Caboodle paper packs. I like the contrast made by the plaid paper from the Caboodle pack against the subtle patterns of Veranda on the left page.


The ribbons are attached to journalling tags "hidden" underneath the circles. Not having a proper circle cutting system I improvised. Yes, I do have this many sizes of plates! Wanna come for dinner? The fibre, which is held on with our "miracle glue" Liquid Glass, is actually a ball of yarn I got a few years back in a discount bin for 25 cents.


I layered left over strips of Veranda on top of the stripe sheet from Caboodle on the right page. I couldn't seem to size the description plaque picture well enough to cut it in a circle and I'm not sure if I'm happy with this side of the page because of that. I'll look at in a week and decide.


The design is not from a CTMH program book. I used to belong to a kit of the month club and this was one of their layouts. I saved all the instructions and pictures from the kits as all the cutting sizes were included. Sadly they are no longer. I must have 200 of their layouts in boxes awaiting pictures ~ sigh. I won't be using any of those completed layouts for this challenge as this is a CTMH challenge and personally I think I should be showcasing CTMH products as much as possible for this endeavor. I will however scraplift the layouts and use our products. Why not?!? We do have the best products going  - if I do say so myself!

Saturday, January 16, 2010

Memorial Church - Grand Pre, NS


This layout used our CTMH Veranda Level 2 paper pack and pattern from Cherish. It's pretty basic and uses only the papers and MyStickease with the addition of a layered Spring Blossom flower on the left page. If you don't know the history of Grand Pre the MyStickease sentiment may seem out of place but it is truly fitting for the Acadians struggles.

I didn't include any jounalling on this page as I have a series of shots and will be doing many more pages for this area. This was my first trip to Nova Scotia and I took almost 1000 pics - 600 of which are scrapable! One of the things I try to photograph when visiting a place is any descriptive or information plaques. You can see a shot of one on the bottom left corner. It makes it so much easier to scrap later when memories of who and what are fading. I generally remember the feelings and events as opposed to the specifics of the place. Makes it so I have to do less journalling too! One of my goals for scrapbooking is to do more personal writing in my pages.

Tuesday, December 29, 2009

2010 Layout Challenge


I have entered a wonderful challenge along with many of my talented Close To My Heart sisters. The challenge is simple...decide how many layouts to make in 2010 and then do it! This is a fantastic way to keep our creativity flowing all year long.
I've decided that since there are fifty two weeks in the year my personal number to finish is 104. That means I owe everyone in the challenge and my loyal blog followers 2 layouts a week. Keep me honest everyone - comment if I'm slipping!!

I, of course, will be checking up on my sisters and encourage you to do so as well. Along the sidebar is a list of participants. After scoping out my blog, follow the links and visit theirs as well. You won't be disappointed.

Happy 2010 Everyone! Let's make this our most creative year yet.